
FiberQ documentation
Guides, workflows, tutorials and setup resources for designing, validating and exporting fiber networks with FiberQ inside QGIS.
User guides • Quickstart workflows • Preview Map setup • Troubleshooting
Start here
New to FiberQ?
Begin with the main User Guide to install the plugin, open the toolbar and understand the basic project structure.
Building a full GPON / FTTH workflow?
Use the end-to-end workflow guide for a more complete planning sequence from project setup to deliverables.
Need a specific feature guide?
Jump directly to focused docs such as manhole placement, Preview Map setup or the Manhole UI form.
Documentation library
Core downloads and setup resources in one place.
Guides
Tools and access
Video tutorials
Watch setup steps, feature walkthroughs and practical use cases on YouTube.
Quickstart workflow
A practical end-to-end workflow you can follow in QGIS with FiberQ.
1. Create a project
Create a project using GeoPackage or PostGIS as the main data store.
2. Draw routes and place elements
Digitize routes and place poles, manholes, ducts, closures, cabinets and other network objects.
3. Generate network outputs
Generate cables, reserves, splices and connections based on the design structure.
4. Validate and review
Review the design in the map and, where applicable, in the optical schematic and outputs.
5. Export or publish deliverables
Export layers as GeoPackage or KML/KMZ, or publish results to PostGIS for collaboration.
6. Import existing points and lines
Bring existing GIS data into FiberQ layers to avoid redrawing and keep projects consistent.
Core topics
The most important setup topics for new and returning users.
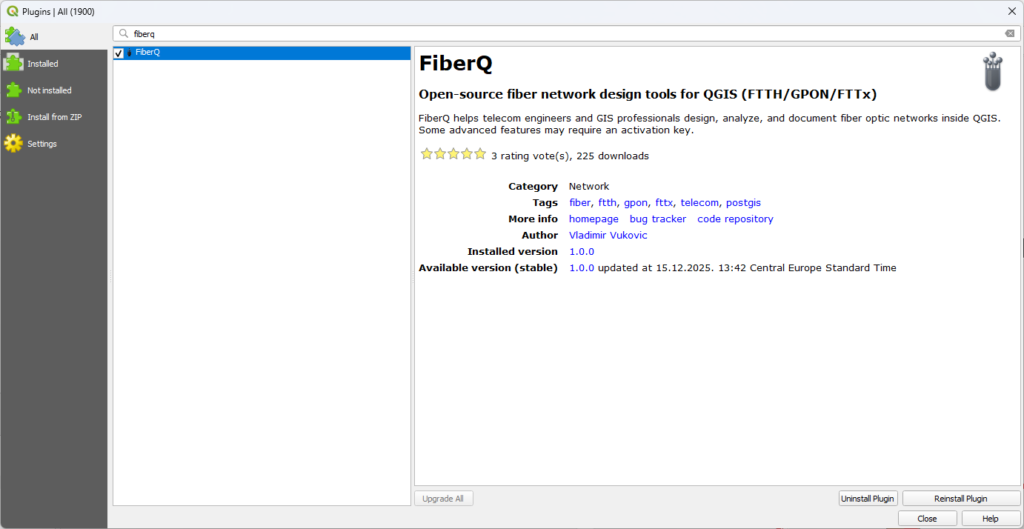
Installation and setup
- Install from QGIS → Plugins → Manage and Install Plugins
- Search for FiberQ, install it and open the toolbar
- Check styles, icons and default project setup
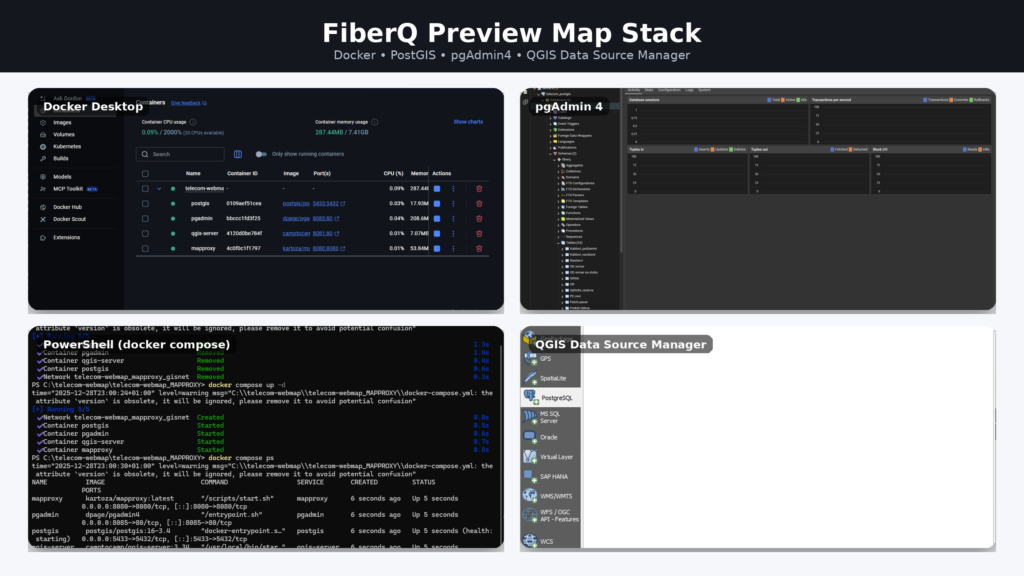
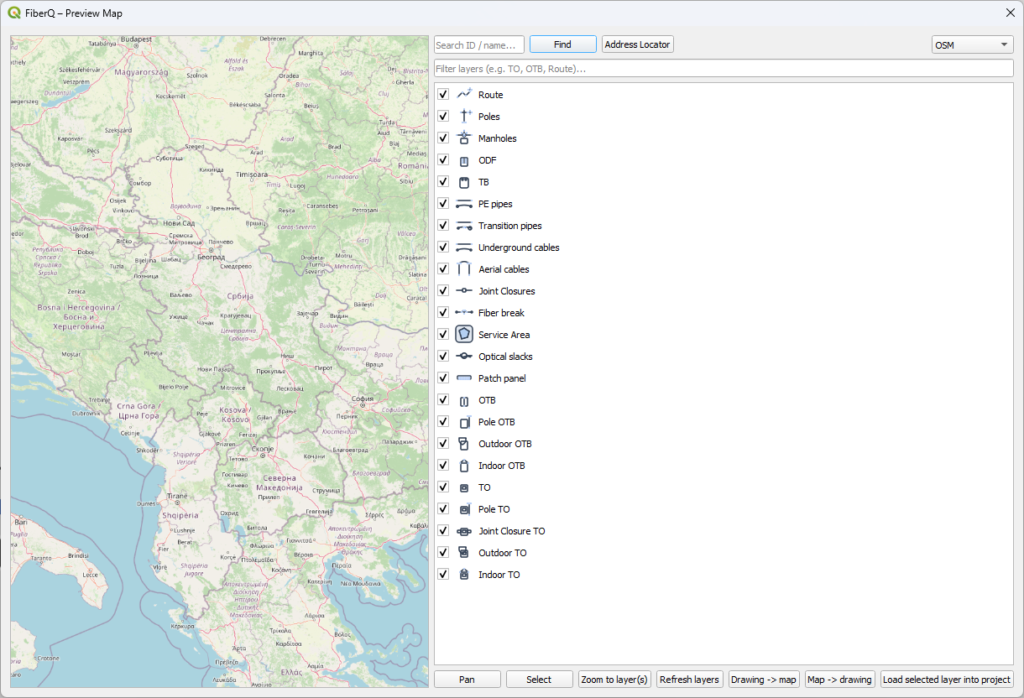
Setup Preview Map
Deploy the FiberQ Preview Map stack on a server and connect users through PostGIS credentials so the team can work from one shared, up-to-date dataset in the browser.
- Activate Preview Map with a key
- Download the MapProxy folder
- Install Docker and run the setup
- Connect PostGIS with pgAdmin4
- Export built-in Preview Map layers to the main project
- Add or remove elements from Preview Map layers in the working project
- Keep shared layers synchronized as changes are made
Step-by-step workflows, screenshots and best practices — from first project setup to export and publishing.
Built to help new users get started faster and experienced users work more consistently.
Troubleshooting Preview Map
- Styles or icons missing after export: reload styles and confirm the plugin SVG path is available in QGIS.
- Layers not visible in Preview Map: verify the project source (GeoPackage or PostGIS) and refresh the map.
- PostGIS publish not showing updates: confirm table name, SRID and permissions match the database setup.
- Slow performance while editing: reduce snapping complexity and avoid very heavy background layers.
Support and community
FiberQ is community-driven. Bugs, ideas, discussions and contributions are welcome.